Things I'm up to around the kitchen and garden. Crafting food and drink and embarking on the keeping of hens. Possibly the odd comment about hotel and restaurant food.
Wondering what to do with the leftover insides of the pumpkin after carving your Jack o'lantern, but want something other than pumpkin pie? Then try this autumnal soup:
Ingredients
10 Chestnuts (or a tin / pack of prepared chestnuts)
One small Pumpkin
600ML Chicken stock
A dash of cream, yoghurt etc
Nutmeg
Method
Peel the chestnuts in whatever way you see fit or use pre prepared ones; Usual method is to make a cut on the curved face and roast or blanch for 5 mins before peeling.
Place the peeled chestnuts in a pan with the pumpkin flesh, minus the tough exterior and the seeds and stringy bits from inside.
Cover with the stock.
Bring to the boil and simmer for 20 minutes.
Blitz.
Grate nutmeg over and season with salt if needed (depends on the stock used).
Stir in the cream, yoghurt or creme fraiche etc
Serve
Makes: 20 cookies Prep time: 5 minutes Cooking time: around 9 minutes Skill level: Easy as falling off a bar-stool Equipment: food mixer / large spoonerism
From as far back as I can remember I have enjoyed chocolate chip cookies with a glass of milk. Mum baked them from a recipe in a Be-Ro flour cookery booklet at a time of my life when the most pressing issue seemed to be whether you were left with milk in the glass after the cookie was gone or whether there was still cookie to be consumed after the milk glass was drained. Invariably it would lead to countless toppings-up of milk and additional cookies. Before long I was following the fail-safe recipe myself with a frequency that makes me wonder why I wasn't a more portly youth and I continued to bake them when I went to university. Which is when the miraculous morning after cookies made their first appearance.
It was in a year of University life where I had enjoyed the second year of my degree so much that I had the need to do it again and in a bid to remove the temptation to go out on the town every night with house-mates, I elected to live in a flat on my own. This was very successful from a culinary point of view, because I had a kitchen to myself - complete with a magic socket, but more about that another time - but less successful with regards to knuckling down to work thanks to the advent of the more affordable mobile phone contract: BEEP-BEEPPub?
It was on my return from a rather heavy night that I stumbled into my flat and into bed via the kitchen.
The following morning I rose, a little less than bright-eyed and bushy-tailed, and padded into the kitchen.
As far as I could tell, I had returned the previous night and had a bit of a fight with a bag of flour, looking at the state of the kitchen, but there, amongst the snow-scape and unwashed kitchenware, was a cooling rack of chocolate chip cookies. I had no clear recollection of baking them, but they were infinitely better than any I had baked before. A magnificent restorative they seemed to be, but the only fly in the ointment was that I had no clear recollection of what I did to make them so good.
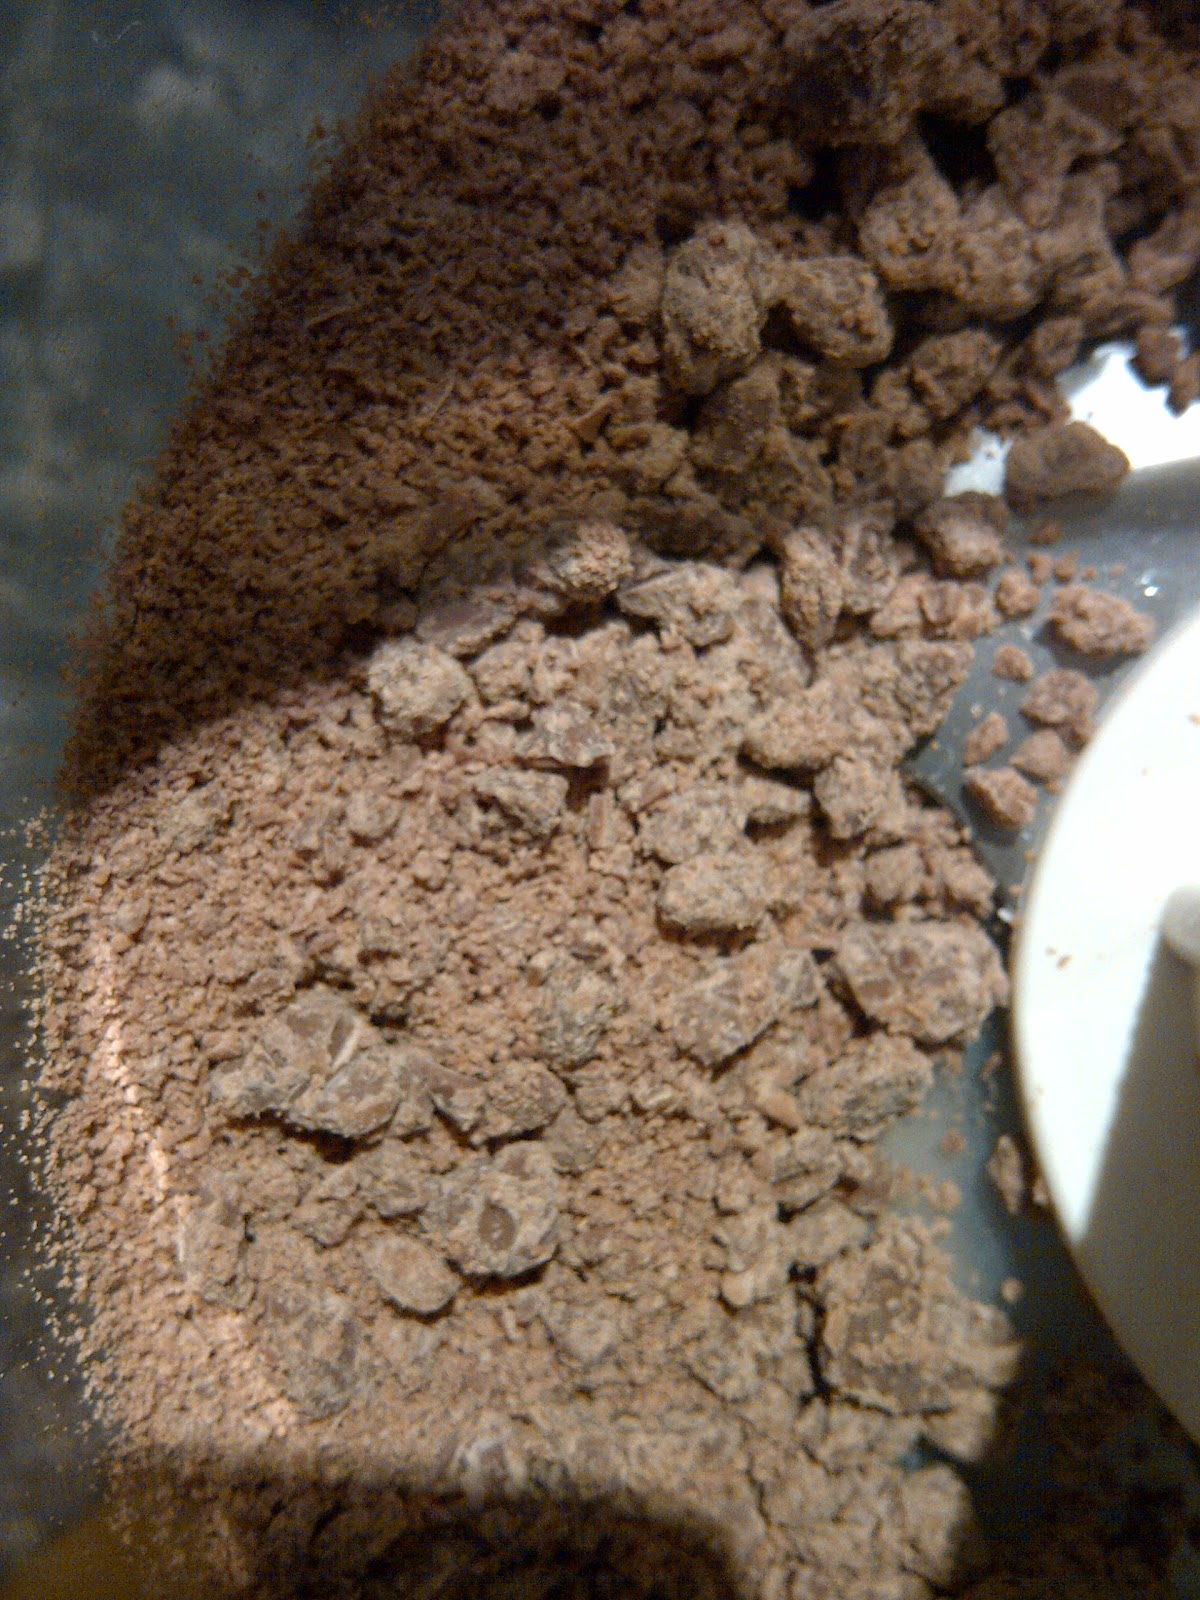
Over the next few weeks I tried varying the recipe with different amounts of this and that ingredient, shorter cooking times or lower temperatures but to no avail. It was some time later that I figured out what I had done. It was down to the lazy cack-handedness of a drunk student. The quantities were the same, but out of laziness I had used a food processor to chop the chocolate into chips at the same time as using it to mix the dough and over chopped the chocolate to fine grains that melted into the cookies on baking, making them more moist.
The following recipe is not that of the original Be-Ro flour booklet, but rather improved in my opinion and not just indicated as a restorative for self-inflicted alements but great for a little comforting treat too.
Prep time: 5 to 10 minutes the night before and 10 to 15 minutes the next morning.
Cooking time: 21 minutes
Skill level: Not Master of the rolls
Equipment: Mixing bowl; scales and measuring jug; hands or a mixer with dough hook; kitchen knife; baking parchment; pastry brush
Ingredients
500g Spelt Flour (or strong white flour)
1 tsp Salt
2 tbsp Olive oil
7g Sachet Yeast
2 tsp honey
300ml Luke warm water
Method
Mix all the dry ingredients and the oil together by hand or with a mixer fitted with a dough hook.
Add the honey and the water gradually while mixing / kneeding to get a moist, elastic dough.
Cover the bowl and place in the fridge over-night.
In the morning, get the dough out of the fridge and light the oven.
Kneed by hand on a clean work-top smeared with olive oil so the warmth from your hands warms up the dough. When the dough is elastic again and the chill has gone from it, roll the dough into a long sausage shape before cutting into 15 pieces. Shape each one into a ball and place on a baing sheet lined with parchment and oiled with olive oil. Place about a centimetre apart and leave to rise in a warm place.
When the rolls are just kissing together, place in the oven at gas mark 7 for 7 minutes.
Reduce the heat to gas mark 5 for 14 minutes.
Remove from the oven and brush with olive oil whilst still warm.
Leave to cool and absorb the oil (this adds flavour, a slight sheen and softens the crust).
When they are just warm or fully cooled, they're ready to go.
Serves: 3 to 4 (3 filling lunch portions or 4 starters) Prep time: 5 minutes (depending on how far away your fridge / freezer is) Cooking time: about 10 minutes Skill level: Pea & Ham-fisted Equipment: Measuring jug; Saucepan; Blender; Spoons; Dishes; Chopping board; Kitchen knife
Following on from cooking gammon in snakebite, the flavoursome cooking liquor is perfect for making pea and ham soup. It is so quick and easy, seeing as the stock is so full of flavour and peas cook so quickly.
Ingredients
500ml Gammon cooking liquor
600g Frozen peas
10ml Corn flour
300g or so of Cooked gammon
Method
If you made the gammon in snakebite the night before, the cooled cooking liquor will have jellified in the fridge, but you should still be able to splodge some into a measuring jug (after having spooned-off the solidified fat on the surface) to measure 500ml before walloping it into a saucepan.
Bring to the boil before adding the frozen peas and when it all comes back to the boil, cook for 4 to 5 minutes.
Blitz the soup with what ever blender you have, being careful not to splatter yourself and kitchen with boiling hot soup. I you didn't blend the soup in the saucepan, return it to the pan. Slake (wet) the cornflour with a little cold water in a small dish to get a pourable liquid rather than a paste when stirred. If you have created a non-Newtonian, dilatant fluid then - firstly - well done you for paying attention in science class but stop basking in the glory of knowing long words and add some more water to the cornflour paste.
Pour the cornflour solution into the soup and bring to a simmer, stirring until the soup thickens up.
Dice the cooked gammon, then scatter into the soup to heat it through before serving.
Serve with a few nice, hot, home made rolls with butter (rolls made with half wholemeal and half strong white flour work a treat)
Serves:2 generously, with some left-over Prep time: 20 minutes Cooking time: 6 to 8 hours Skill level: Ham-fisted upwards Equipment: Pint pot or other measure; medium-large saucepan; slow cooker (or use oven-proof dish with lid); carving fork or other utensils to lift the cooked gammon out.
I cobbled this recipe together in an ad hockway after the new girl at the butchers sold my wife gammon knuckles instead of the lamb shanks she had ordered. At the time I had brewed up a batch of lager and one of cider and filled one keg of each and a third keg with half of each to give us snakebite on draught for a nostalgia hit from student days. I'd cooked gammon in cider before so I thought I'd try it in snakebite and use my new slow cooker. I was so pleased by the delicately aromatic, melt-in-the-mouth result that I've not changed the recipe and have replicated it many times. I just hope next time I ask for gammon knuckle, she doesn't get me lamb shanks.
Home brewed Snakebite (optional)
Ingredients
One gammon knuckle
Cold water, to cover
1 Pint of cider
1 Pint of lager
1 Pint of water
1 Star anise
1 Tsp pepper corns 1 Tsp cloves
Method
Preheat the slow cooker as directed by the manufacturer.
Place the gammon knuckle in a pan and cover with cold water.
Bring to the boil then discard the water. Add the three pints of liquid and bring back to the boil before transferring to the preheated slow cooker.
Add the spices and cook on low for 6 to 8 hours.
If you don't have a slow cooker, place in a lidded, oven-proof dish and, once simmering, place in the oven at around 150 degrees C, 300 F or Gas Mark 2 (vary the temperature so it's only just simmering - just the odd bubble surfacing)
Once cooked, lift out the gammon and the meat should easily fall away from the bone and separate from the skin and fat. Serve as you like.
I enjoy it simply with chips and Dijon mustard mixed with mayonnaise, or with mashed potato for a winter warmer of a dish. Fantastic the next day on sandwiches or for breakfast with fried eggs and a little English mustard.
Recommended side dish: Shredded cabbage sauteed in olive oil with a little crushed juniper berry, a grind of salt and pepper and grated nutmeg.
Scrimping tip: Keep the cooking liquor to use as the base for soup; For the classic pea and ham soup: add peas (fresh, frozen or dried) and cook until done, then blitz, and add some of the leftover gammon.
I’m a bit behind the curve with keeping hens in my back garden; it’s hardly trailblazing these days. Obviously it’s not new at all to keep hens at home: my granddad had quite a few hens, but in more recent history it seemed a bit unusual, a bit Tom and Barbara, to have livestock in the back yard. Right now, it seems quite the fashion, possibly thanks to Hugh FW. I’m certainly no smallholder or farmer. Hen keeping will be slotted into our day-to-day family life, to fit in amongst the school run, work and all the after-school ferrying around.
My initial feelings, before getting the hens, are of practical utilitarian hen keeping; they are not pets, they are livestock; I will be dispassionate, yet humanitarian (or does that only apply to fellow humans? Perhaps henitarian would be the word?) not getting emotionally attached to the birds. Well, who’s placing bets on how quick that approach is going to fly out the window without its wings clipped? It’s not looking good:
I booked myself on a poultry keeping course at Reasehealth Agricultural college, with a view to learning lots of information and practical skills, including handling poultry, getting hands on and holding them and, oh dear, they are rather lovely little things, and would you believe how soft their feet are… ahem. Pull yourself together Leo; remember: Not pets; Livestock.
Keeping hens was never intended to be a source of cheap eggs, the initial out-lay on hen house, fencing and all the other items required will see to that; although you can’t make an omelette without breaking eggs, you can certainly make one without breaking even. It seems that it will serve, as well as a hobby or escape from modern life, as a middleclass angst soother: Most of us now feel abashed or in need of self flagellation if we were to purchase non-free-range eggs, because it now seems a given that battery eggs are loathsome to the very core. But, if I may add to that middleclass angst: industrial egg production, even if classed as free-range, is not without its stress to blight the lives of our feathered friends. Free-range hens, if kept in vast numbers, can have quite a stressful existence. Hens like a status quo; as a breed these foul, in their natural habitat, exist in smallish groups and, after initial squabbling, establish a pecking order, a hierarchy. Once established, they know one another and know their place. In vast numbers, this is not possible and what would be an initial, brief period of stress in a small group, is a constant round of squabbling and stress on a day to day basis. Now, I’m no bleeding-heart liberal, there is a practical and dispassionate point here: stressed hens are more susceptible to illness and disease. To bring matters round to some degree of perspective, it’s still better than being a battery hen. But what a good excuse for this new venture at home: guilt-free eggs.
After reading up far more than is strictly necessary, to the extent that my wife has said that if I buy another poultry book, I’ll need a buck-buck-bookcase to keep them in, I now feel prepared to go ahead and get some hens. First step: Build a hen house and chicken run. I best stop typing and get building…
Beer, I've got down to a fine art, but I'm new to making wine, so I'm starting-off simple. Already I've committed my first newbie crime of not following the instructions. I don't know why I do this. As, pretty much, a beginner, I should follow the recipe for a tried and tested wine and vary it afterwards. So when instructed to dilute apple juice and add sugar, I couldn't bring myself to water down a flavour-giving ingredient. I started with neat apple juice and added less sugar. I say neat apple juice but it was from concentrate, so at some point it's been diluted. I used the cheap stuff because it is already clear. Fannying-around step two: I added medium toast, oak chips. Here's where I'm up to so far:
Day 1 4 litres Apple juice (Euroshopper RRP 75p per litre, Specific Gravity 1.046) Aerated in brew-bin and added yeast nutrient. Hydrated Bioferm "cool" yeast as per pack instructions. 30g Oak Chips into demijohn with a splash of boiling water. Pitched yeast into brew-bin and aerated with a balloon whisk, then poured into demijohn. Fitted bubble trap. Within afew days a head was thrown up and blew out through the bubble trap. Day 4 Calmed down so added some of the extra sugar needed to make it up to strength: 250g dissolved in a little boiling apple juice, then cooled. Another blow out. Day 5 Added the last lot of sugar: 280g in more apple juice. Day 10 Topped up to the neck of the demijohn with apple juice. Day 11 Demijohn got filmed by Endemol and may appear on telly, only a minor part, non-speaking. Day 26 Syphoned off sediment into another demijohn, topped up to the neck with more apple juice. Had a sneaky taste mid syphon: Appley and winey would you believe? Day 34 Still sitting there, periodically going "blup" Day 180 Finally got round to another investigulp. Tasting much more like it but a little too lively, so in need of degasing, which is essentially agitating to release the carbon dioxide out of solution. This was combined with the addition of half a Campden tablet, crushed, to kill off the yeast. If I were going to bottle it to keep, I would also have added a similar amount of potassium sorbate to prevent fermentation from any wild yeasts etc that may get into the wine. I was too thirsty to keep the wine too long, so syphoned it into a 5 litre wine box and put it into the fridge overnight to chill. The resulting wine was very drinkable; a nice level of acidity, gentle oakiness and a subtle apple flavour.
This recipe I will certainly be repeating as my house wine, so easy and so cheap, less than one pound a bottle.