Things I'm up to around the kitchen and garden. Crafting food and drink and embarking on the keeping of hens. Possibly the odd comment about hotel and restaurant food.
This is a quick and tasty way to cook egg. It's similar to cottage eggs, where the egg is baked in a ramekin without a bread lining, which is still delicious, but you have baked-on egg to contend with when washing up.
Ingredients (per egg)
1 egg
1 slice of bread
butter
2 tsp double cream
1 grind of salt
1 grind of black pepper
Method
Cut the crusts off the slice of bread and roll flat with a rolling pin.
Spread with butter.
Push the bread, butter side down, into a ramekin dish or a muffin tin.
As you push the bread down, folds of bread will form. You can just press these to the edges.
If you make any holes in the bread as you press it into the tin, rip off a little bread from the top and press it down over the hole.
Crack in one egg.
Season with salt and pepper.
Add the cream.
Bake for 15 minutes at 180 C.
Serve.
My kids love these. Some eat them with their fingers, some eat them with a spoon, before eating the bread cup. Come to think of it, I love these with a salad for a lunch or light dinner.
You could vary the seasoning of the egg to your personal taste. Perhaps some finely chopped parsley or smoked paprika.
Makes: 20 cookies Prep time: 5 minutes Cooking time: around 9 minutes Skill level: Easy as falling off a bar-stool Equipment: food mixer / large spoonerism
From as far back as I can remember I have enjoyed chocolate chip cookies with a glass of milk. Mum baked them from a recipe in a Be-Ro flour cookery booklet at a time of my life when the most pressing issue seemed to be whether you were left with milk in the glass after the cookie was gone or whether there was still cookie to be consumed after the milk glass was drained. Invariably it would lead to countless toppings-up of milk and additional cookies. Before long I was following the fail-safe recipe myself with a frequency that makes me wonder why I wasn't a more portly youth and I continued to bake them when I went to university. Which is when the miraculous morning after cookies made their first appearance.
It was in a year of University life where I had enjoyed the second year of my degree so much that I had the need to do it again and in a bid to remove the temptation to go out on the town every night with house-mates, I elected to live in a flat on my own. This was very successful from a culinary point of view, because I had a kitchen to myself - complete with a magic socket, but more about that another time - but less successful with regards to knuckling down to work thanks to the advent of the more affordable mobile phone contract: BEEP-BEEPPub?
It was on my return from a rather heavy night that I stumbled into my flat and into bed via the kitchen.
The following morning I rose, a little less than bright-eyed and bushy-tailed, and padded into the kitchen.
As far as I could tell, I had returned the previous night and had a bit of a fight with a bag of flour, looking at the state of the kitchen, but there, amongst the snow-scape and unwashed kitchenware, was a cooling rack of chocolate chip cookies. I had no clear recollection of baking them, but they were infinitely better than any I had baked before. A magnificent restorative they seemed to be, but the only fly in the ointment was that I had no clear recollection of what I did to make them so good.
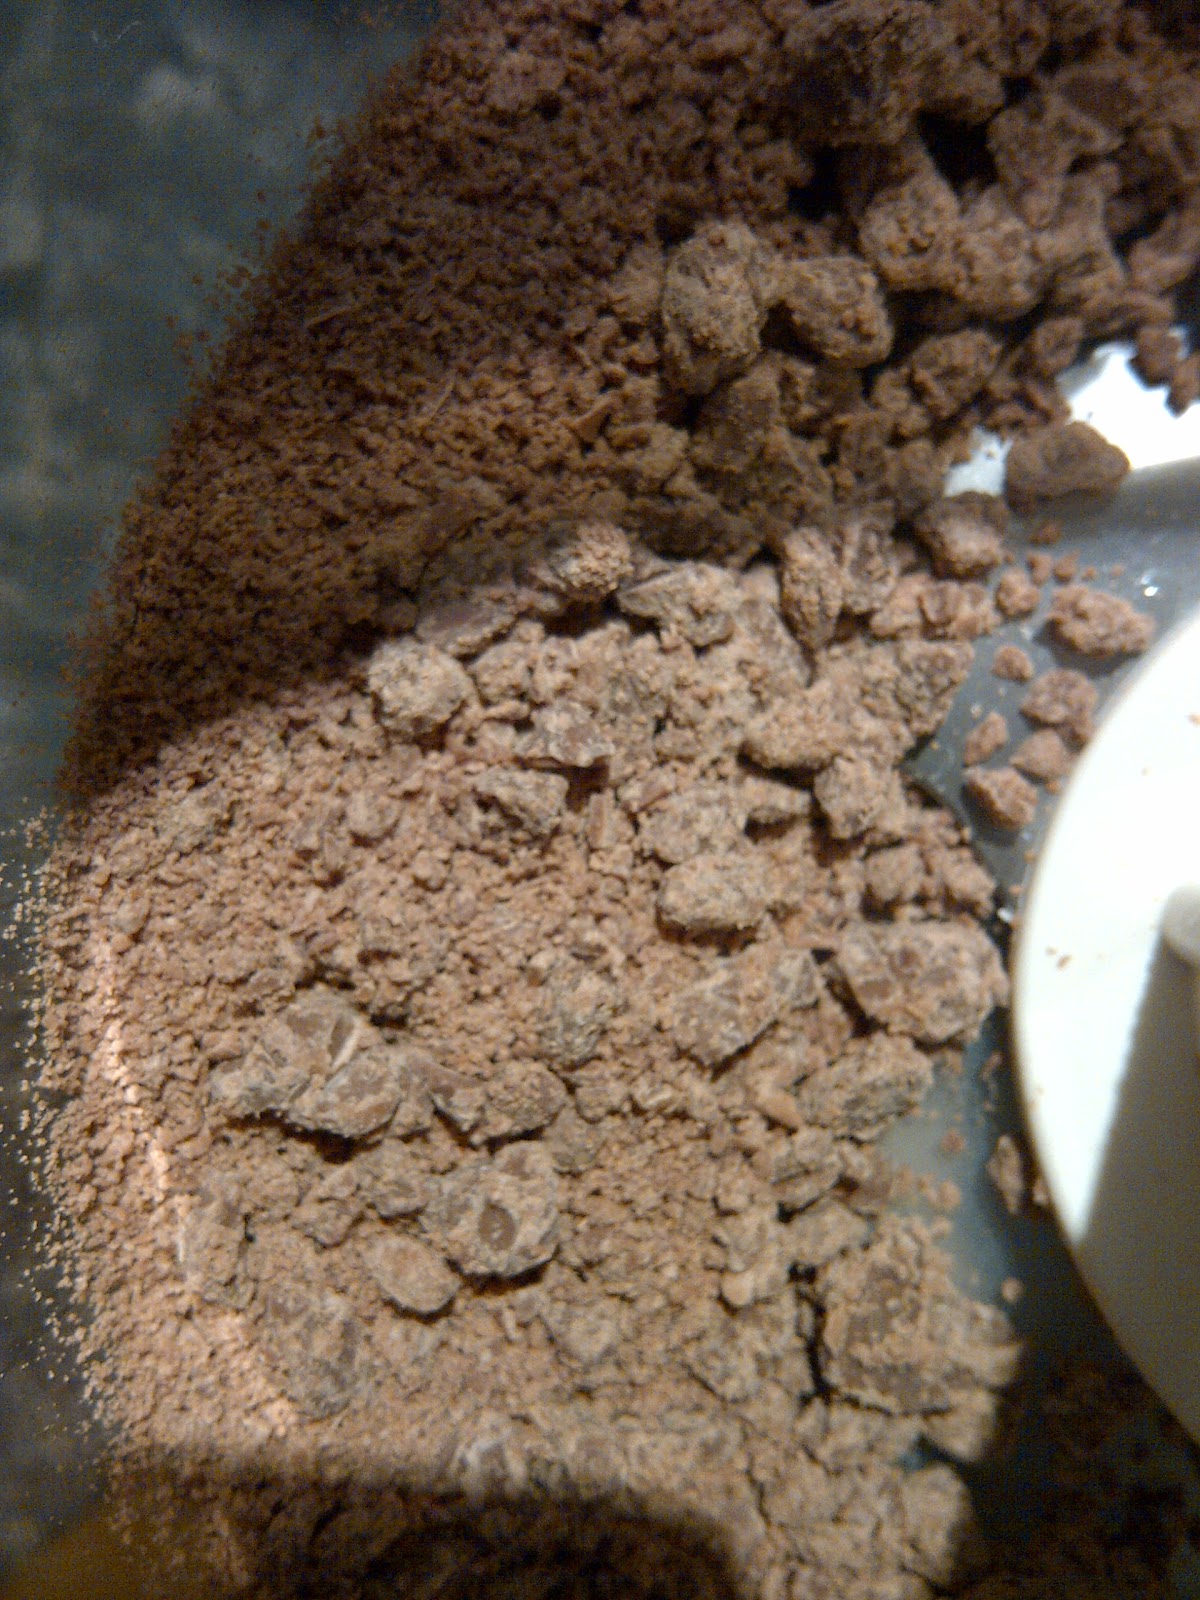
Over the next few weeks I tried varying the recipe with different amounts of this and that ingredient, shorter cooking times or lower temperatures but to no avail. It was some time later that I figured out what I had done. It was down to the lazy cack-handedness of a drunk student. The quantities were the same, but out of laziness I had used a food processor to chop the chocolate into chips at the same time as using it to mix the dough and over chopped the chocolate to fine grains that melted into the cookies on baking, making them more moist.
The following recipe is not that of the original Be-Ro flour booklet, but rather improved in my opinion and not just indicated as a restorative for self-inflicted alements but great for a little comforting treat too.
Prep time: 5 to 10 minutes the night before and 10 to 15 minutes the next morning.
Cooking time: 21 minutes
Skill level: Not Master of the rolls
Equipment: Mixing bowl; scales and measuring jug; hands or a mixer with dough hook; kitchen knife; baking parchment; pastry brush
Ingredients
500g Spelt Flour (or strong white flour)
1 tsp Salt
2 tbsp Olive oil
7g Sachet Yeast
2 tsp honey
300ml Luke warm water
Method
Mix all the dry ingredients and the oil together by hand or with a mixer fitted with a dough hook.
Add the honey and the water gradually while mixing / kneeding to get a moist, elastic dough.
Cover the bowl and place in the fridge over-night.
In the morning, get the dough out of the fridge and light the oven.
Kneed by hand on a clean work-top smeared with olive oil so the warmth from your hands warms up the dough. When the dough is elastic again and the chill has gone from it, roll the dough into a long sausage shape before cutting into 15 pieces. Shape each one into a ball and place on a baing sheet lined with parchment and oiled with olive oil. Place about a centimetre apart and leave to rise in a warm place.
When the rolls are just kissing together, place in the oven at gas mark 7 for 7 minutes.
Reduce the heat to gas mark 5 for 14 minutes.
Remove from the oven and brush with olive oil whilst still warm.
Leave to cool and absorb the oil (this adds flavour, a slight sheen and softens the crust).
When they are just warm or fully cooled, they're ready to go.
Serves: 3 to 4 (3 filling lunch portions or 4 starters) Prep time: 5 minutes (depending on how far away your fridge / freezer is) Cooking time: about 10 minutes Skill level: Pea & Ham-fisted Equipment: Measuring jug; Saucepan; Blender; Spoons; Dishes; Chopping board; Kitchen knife
Following on from cooking gammon in snakebite, the flavoursome cooking liquor is perfect for making pea and ham soup. It is so quick and easy, seeing as the stock is so full of flavour and peas cook so quickly.
Ingredients
500ml Gammon cooking liquor
600g Frozen peas
10ml Corn flour
300g or so of Cooked gammon
Method
If you made the gammon in snakebite the night before, the cooled cooking liquor will have jellified in the fridge, but you should still be able to splodge some into a measuring jug (after having spooned-off the solidified fat on the surface) to measure 500ml before walloping it into a saucepan.
Bring to the boil before adding the frozen peas and when it all comes back to the boil, cook for 4 to 5 minutes.
Blitz the soup with what ever blender you have, being careful not to splatter yourself and kitchen with boiling hot soup. I you didn't blend the soup in the saucepan, return it to the pan. Slake (wet) the cornflour with a little cold water in a small dish to get a pourable liquid rather than a paste when stirred. If you have created a non-Newtonian, dilatant fluid then - firstly - well done you for paying attention in science class but stop basking in the glory of knowing long words and add some more water to the cornflour paste.
Pour the cornflour solution into the soup and bring to a simmer, stirring until the soup thickens up.
Dice the cooked gammon, then scatter into the soup to heat it through before serving.
Serve with a few nice, hot, home made rolls with butter (rolls made with half wholemeal and half strong white flour work a treat)